By Ben Chapman April 17, 2020
» Updated
Dec 16, 2024
| 18 min read
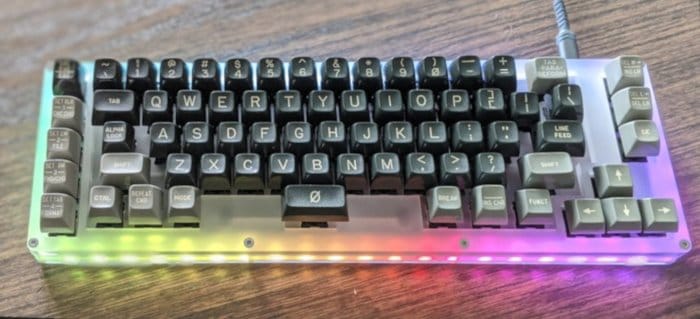
Recently I was looking for a new keyboard for my home workstation. I have a strong fondness for mechanical keyboards, and while there are amazing options available on the market none were exactly what I was looking for. Then it dawned on me, why not build something custom? I had access to the tools, …
By Ben Chapman March 07, 2020
» Updated
Sep 27, 2022
| 7 min read
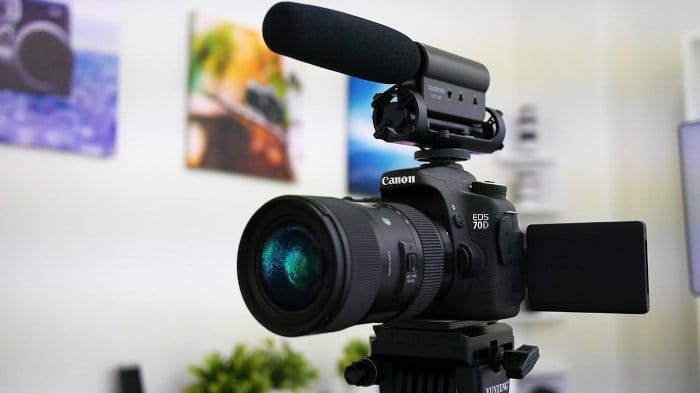
If you desire a more professional looking image when video conferencing you can easily use a DSLR camera as a webcam for high quality results. This is straightforward to setup within Linux and this is the guide for how it’s done.
Apple Disk Transfer ProDOS (ADTPro) transfers physical disks and disk images between Apple II-era computers and the modern world. The current release of ADTPro is over 2 years old, and has some challenges in running on M1, M2 or M3-based Macs. Here’s how to get it working.
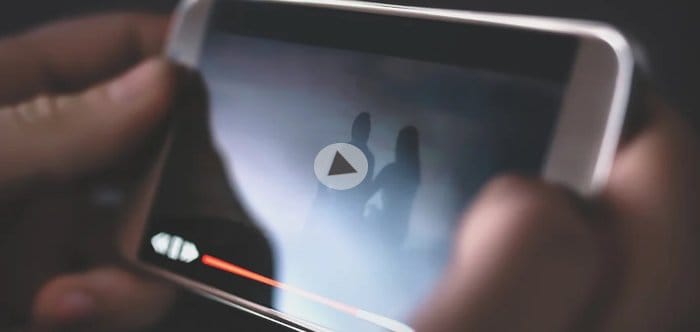
Adding streaming video to your website or blog is easier than you think. I have some tips and tricks to optimize your video to help ensure a good streaming experience for your visitors. Here’s the guide for how it’s done.
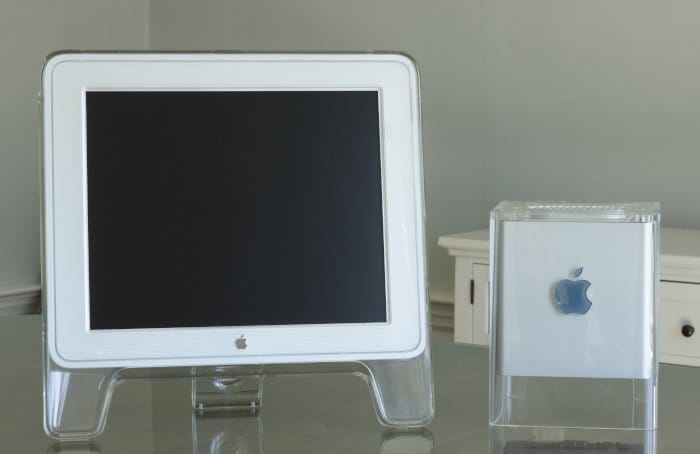
The Apple G4 Cube has been described as the “coolest computer ever”, and it was groundbreaking when it was released in July of 2000. The Cube was not without it’s faults though, and ultimately didn’t sell well enough for Apple to keep it around. Here’s a brief pictorial overview of the Apple G4 …
The Flashforge Finder 3D printer is a good off-the-shelf printer for someone new to 3D printing, and the included Flashprint software is a decent slicer for getting you started with the Flashforge Finder. There are many alternate slicers available on the market all of which provide advanced features …
By Ben Chapman September 14, 2020
» Updated
Nov 23, 2021
| 10 min read
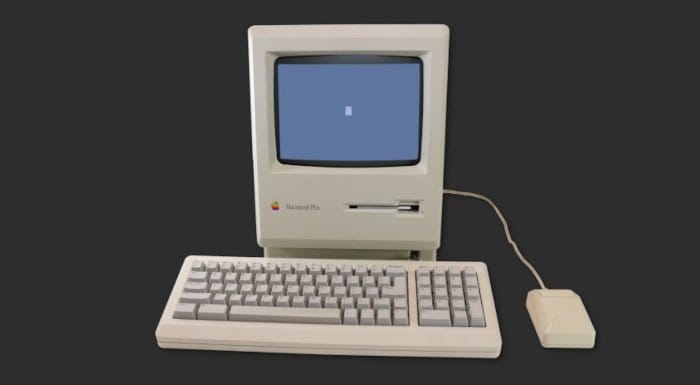
If your vintage PC or Macintosh computer has started spewing smoke and terrible smelling fumes, you’ve had a power supply component notorious for failure, just fail. Fortunately your computer is unharmed and the fix for this problem is cheap and simple. Here’s how it’s done.
By Ben Chapman September 06, 2020
» Updated
Sep 08, 2020
| 13 min read
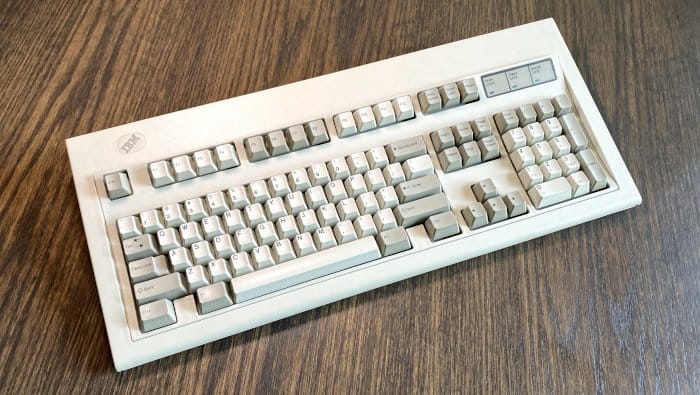
The IBM Model M is unarguably one of the best keyboards ever manufactured, but with few modern features. Here’s the guide to easily supercharge your Model M. Provide capabilities that never originally existed like native USB support, media keys, keyboard mouse control and more…
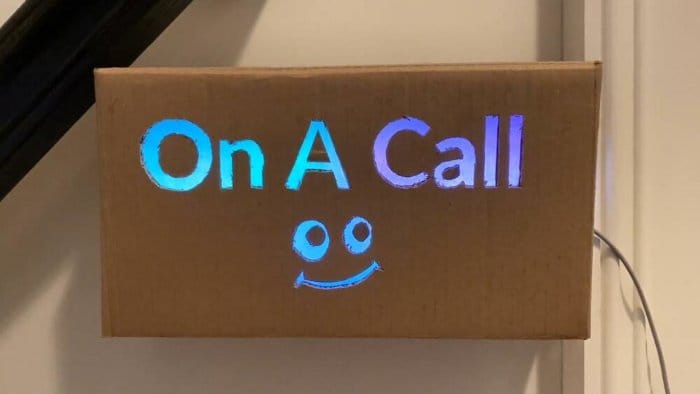
For those who now spend a majority of the day on video conferences, it would be useful to have a way to let your family know you’re on a call, so that’s exactly what I did. I built a fun, programmable sign which automatically turns on when I’m on a call, and turns off when I’m free.
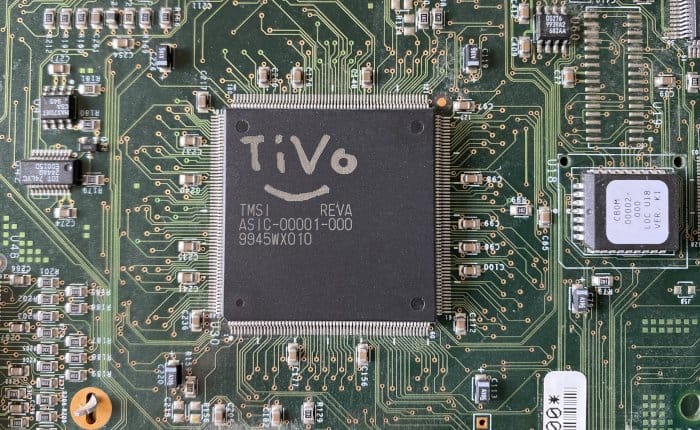
TiVo is a digital video recorder (DVR) developed and marketed by TiVo Inc. and introduced in 1999. TiVo provides an on-screen guide of scheduled broadcast programming television programs, whose features include “OnePass” schedules which record every new episode of a series, and “WishList” searches …
If you haven’t yet, I encourage you to read through
Part 1
,
Part 2
, and
Part 3
of this series, where we worked to create a disk image of our TiVo drives, and get VirtualBox installed and configured, extracted and transcoded video from our TiVo.
If you haven’t yet, I encourage you to read through
Part 1
and
Part 2
of this series, where we worked to create a disk image of our TiVo drives, and get VirtualBox installed and configured. For the remainder of this project we’ll be working totally within our VirtualBox VM, using our …
If you haven’t yet, I encourage you to read through
Part 1
of this series, where we worked through getting access to the TiVo’s disk drive(s) and creating virtual disk images which we’ll use from this point forward.
VirtualBox Setup
We’re going to use VirtualBox as the platform to create a …
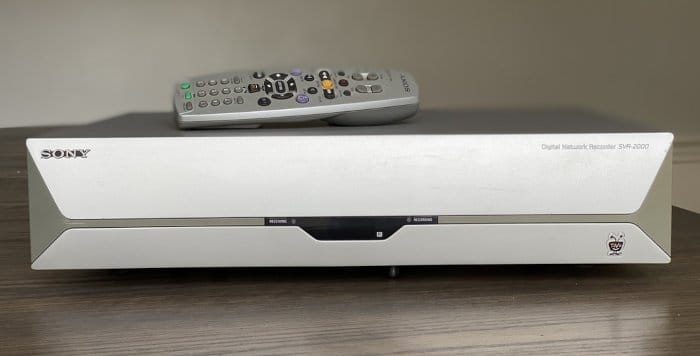
I recently rediscovered my first, and only TiVo - a Sony SVR-2000, circa 2000. Pulling this TiVo from storage, the first and most obvious thing to do was connect it’s S-Video output to a RetroTink and fire it up.
Immediately I was transported back in time, reacquainted with TiVo. Program after …